

The Rock Pi 4 Model B+ is a powerful single-board computer that packs impressive performance into a compact form factor. Whether you're setting up a home server, media center, or a development environment, the first step is installing the right firmware. This guide walks you through installing firmware on your Rock Pi 4 B+—from prepping your storage to booting into your chosen OS.
What You’ll Need
Before you begin, make sure you have:
-
Rock Pi 4 Model B+

-
microSD card (minimum 16GB, Class 10 recommended) onboard eMMC module

-
microSD card reader to USB adapter

-
Computer (Windows, macOS, or Linux)
-
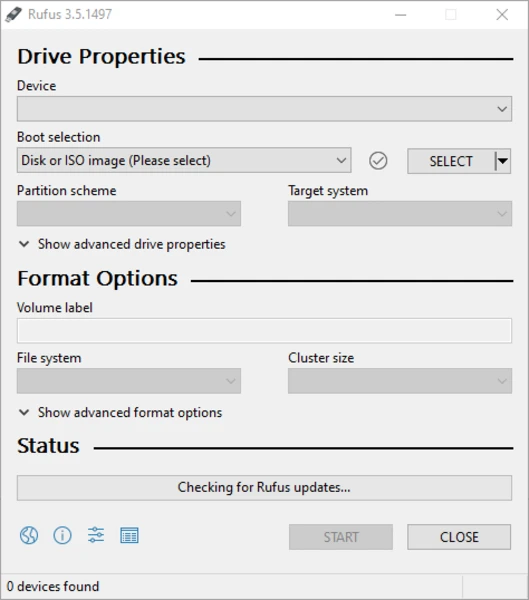
Image flashing tool (e.g., Balena Etcher, Rufus, or
ddon Linux/macOS)

-
Latest firmware or OS image (e.g., Radxa's official images)
Step 1: Download the Firmware or OS Image
Head over to Radxa’s official download page and choose the image suitable for your use case:
-
Debian/Ubuntu: Best for general-purpose computing and server applications.
-
Android: Great for media centers or touchscreen applications.
-
Armbian: Optimized and lightweight, excellent community support.
Make sure to download the correct image for the Model B+
Step 2: Flash the Image to microSD or eMMC
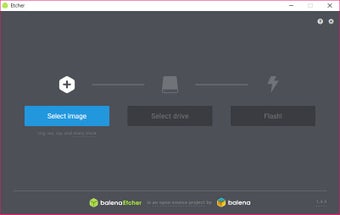
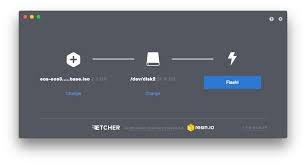
Option A: Using Balena Etcher (Cross-platform)
-
Install Balena Etcher.
-
Insert your microSD card module via an adapter.
-
Open Etcher and:
-
Select the downloaded image.
-
-
Choose your storage device.
-
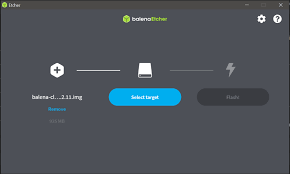
-
Click “Flash!”
-
-
Insert the micorSD card into the Rock Pi
-
Connect a monitor / keyboard and mouse
-
Power on the device and you'll see it will boot up
-


Option B: Using dd (Linux/macOS)
bash
CopyEdit
sudo dd if=/path/to/image.img of=/dev/sdX bs=4M status=progress && sync
Replace /dev/sdX with your actual device path (be very careful!).
Step 3: Insert and Boot
-
Insert the flashed microSD card into your Rock Pi 4 B+.
-
Connect keyboard, monitor, and power supply.
-
Power it on. You should see the OS booting up within a few seconds.
Note: If you're using both a microSD and eMMC, the Rock Pi will boot from the microSD by default.
(Optional) Flashing to eMMC from microSD
Want to boot from eMMC for better performance?
-
Boot the Rock Pi from a microSD card with a working Linux image.
-
The eMMC module is onboard already.
-
-
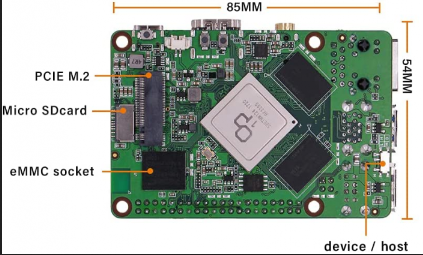
-

-
Use the built-in tool
rkdeveloptool(available in Radxa's guides) to write the image to eMMC. -
Reboot after flashing, and remove the microSD to boot from eMMC.