Looking for a compact powerhouse to supercharge your next tech project? The Orange Pi 5 Ultra might just be your new best friend. In this blog, we dive into everything this impressive single-board computer has to offer—from its blazing-fast Rockchip RK3588S processor to its support for up to 32GB of LPDDR4/4x RAM. Whether you're building a home server, dabbling in AI and machine learning, or looking to create a sleek media center, the Orange Pi 5 Ultra packs serious performance into a tiny footprint. We’ll walk you through specs, setup tips, OS options, and real-world use cases so you can decide if it's the right fit for your needs. Curious about how it stacks up against the Raspberry Pi 5? We cover that too. Let’s break down what makes the Orange Pi 5 Ultra a standout in the SBC world.
The Orange Pi 5 Ultra is a powerful single-board computer powered by the Rockchip RK3588S, and it opens up a world of possibilities for developers, tinkerers, and tech enthusiasts. But before you can dive into your projects, you need to get an OS installed and running — either on the built-in eMMC storage or a microSD card.
In this guide, we’ll walk you through the process of downloading, flashing, and booting an OS on your Orange Pi 5 Ultra using both storage methods.
What You’ll Need
-
Orange Pi 5 Ultra board
-
USB-C power supply (5V/4A recommended)
-
microSD card (16GB or higher, UHS-I recommended)
-
USB keyboard and mouse
-
Monitor (HDMI or USB-C display)
-
USB card reader (for flashing microSD)
-
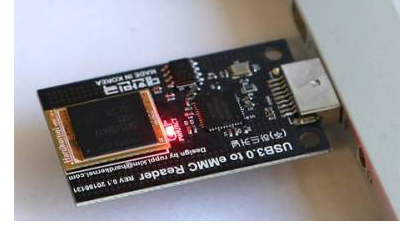
eMMC to USB adapter (if flashing eMMC externally)
-
Internet connection
-
A host PC (Windows/Linux/macOS
Step 1: Download the OS Image
Orange Pi officially supports several operating systems, including:
-
Orange Pi OS (Arch/Android/Debian-based)
-
Ubuntu
-
Debian
-
Android 12 (TV and standard)
Where to Download:
Head to the official Orange Pi Downloads page or their GitHub repo and choose the appropriate OS image for the Orange Pi 5 Ultra.
Be sure to download the correct image based on your target (eMMC or SD card). Some images are optimized for eMMC use, while others are more general.
Step 2: Flash the OS to microSD Card (Method 1)
-
Insert the microSD card into your computer using a card reader.
-
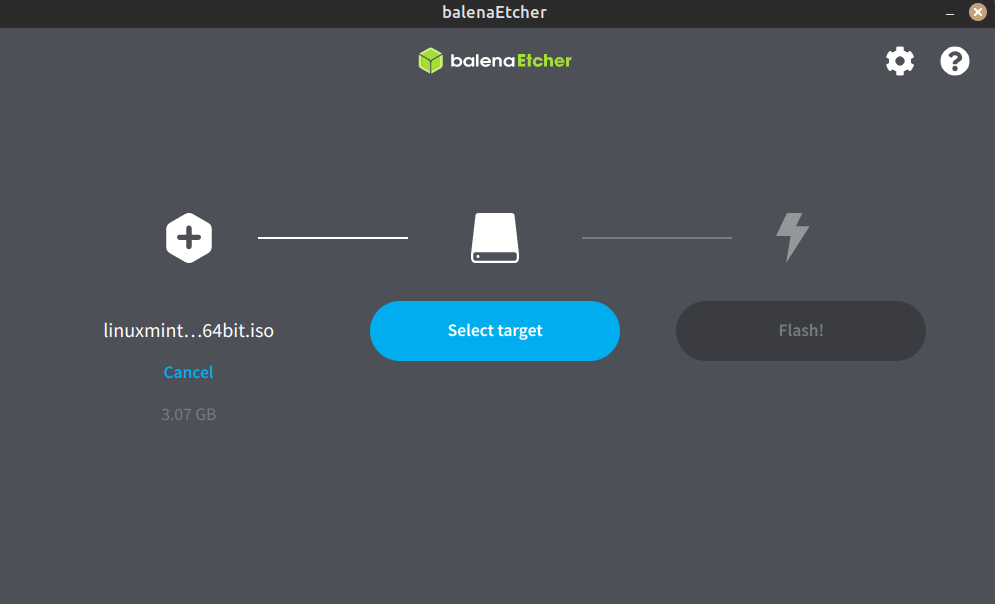
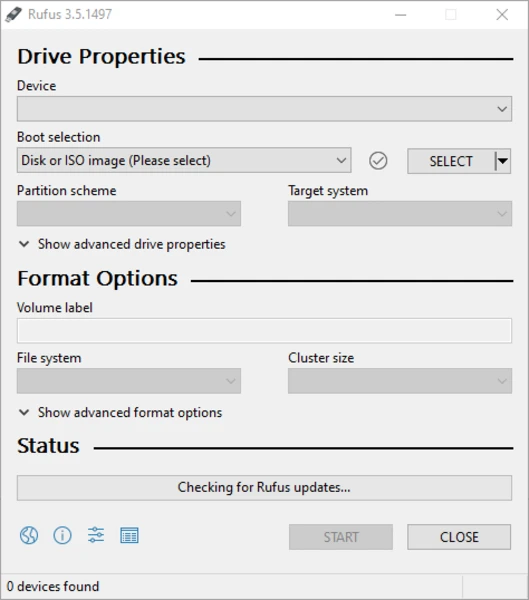
Use a flashing tool, such as:

-
-
Rufus (for Windows)
-

-
-
dd(for advanced Linux/macOS users)
-
-
Flash the image:
-
Open Etcher > Select image > Select microSD card > Click “Flash”
-
Wait until the process completes and safely eject the card
-
-
Insert the microSD card into your Orange Pi 5, connect peripherals, and power it on.
Note: The Pi will boot from microSD first if both microSD and eMMC have bootable OS's.
Step 3: Flash the OS to eMMC (Method 2)

There are two ways to flash the eMMC:
Option A: Flash with USB eMMC Adapter (recommended)
-
Remove the eMMC module from the Orange Pi 5.
-
Insert it into a USB eMMC adapter and plug it into your host PC.
-
Use Balena Etcher or your favorite flashing tool to write the OS image to the eMMC module.
-
Safely eject, reinstall the eMMC on the Orange Pi 5, and power it on.
Option B: Flash eMMC from SD Boot (via Linux)
-
Boot into a Linux OS from microSD (see Method 1).
-
Open a terminal and use
lsblkto find the eMMC (usually/dev/mmcblk1). -
Use
ddto write the image: -
Power off, remove the SD card, and reboot — it should now boot from eMMC.
Step 4: First Boot & Setup
-
First boot may take a few minutes as the OS configures itself.
-
You’ll be prompted to create a user, select a language, and connect to Wi-Fi (depending on OS).
-
Be sure to run any first-time setup scripts or updates:
Tips & Troubleshooting
-
Boot order: Orange Pi 5 boots microSD first, then eMMC. Remove the SD card if you want to boot from eMMC.
-
Slow performance? Use a Class 10 UHS-I card or better.
-
No display? Try HDMI first; not all OSes support USB-C display out-of-the-box.
-
Stuck boot loop? Reflash the image — sometimes the download can be corrupted.
Whether you're looking to run a headless Linux server, build a home media center, or test Android apps on ARM, the Orange Pi 5 Ultra has the muscle to handle it — and installing the OS is the first step on your journey.

