The ODROID-N2+ from Hardkernel is one of the most powerful single-board computers (SBCs) available for hobbyists and developers alike. With an octa-core ARM Cortex-A73/A53 processor, powerful GPU, and support for up to 4GB DDR4 RAM, it’s a fantastic choice for everything from retro gaming to home servers or embedded AI projects.
In this guide, we'll walk through how to install and set up your ODROID-N2+, from unboxing to booting into your OS of choice.
What You’ll Need
-
ODROID-N2+ board (2GB or 4GB RAM version)
-
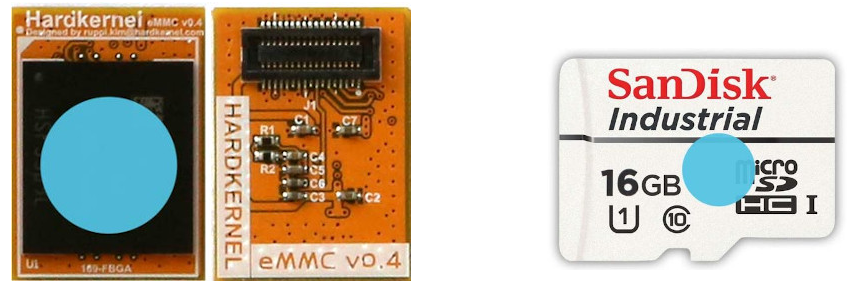
microSD card (Class 10 or UHS-I recommended) or eMMC module
-
HDMI cable and monitor
-
USB keyboard and mouse
-
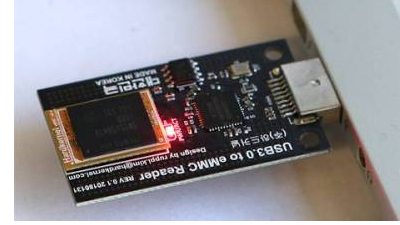
Optional: eMMC module reader/writer
-
A case and cooling solution (passive or active cooling recommended)
-
Internet connection (Ethernet)
Step 1: Flash an Operating System
The ODROID-N2+ supports several OS options:
-
Ubuntu (official support from Hardkernel)
-
CoreELEC (for media centers)
-
Android
-
Debian / Arch Linux
-
Armbian (community-supported)
Recommended: Ubuntu Minimal or Mate
Using microSD or eMMC:

-
Download OS Image
Visit Hardkernel’s Wiki and choose your desired image. -
Flash the Image
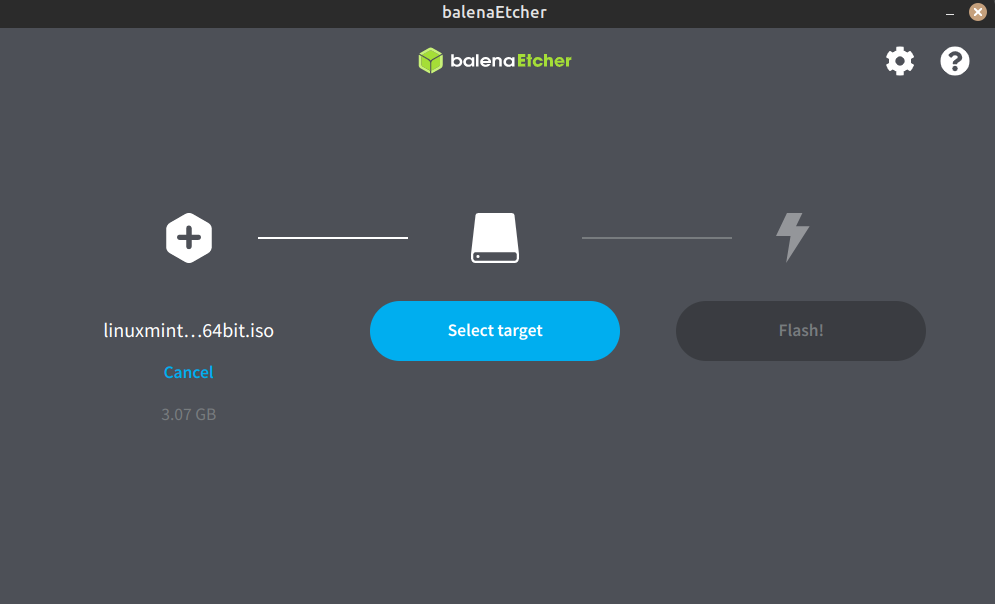
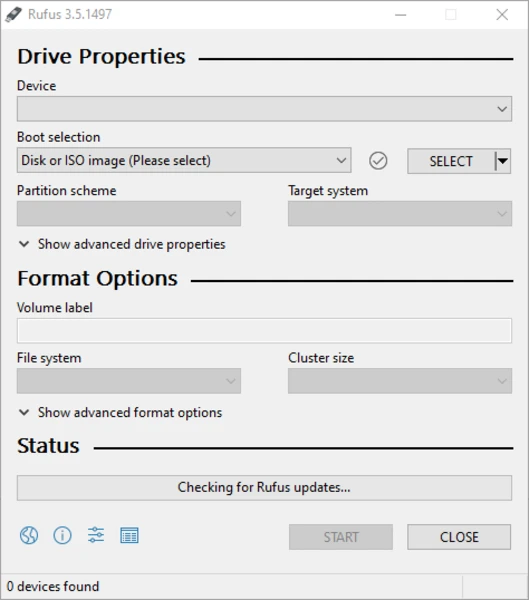
Use Balena Etcher or Rufus to flash the.img.xzfile to your microSD card or eMMC module.
Balana Etcher
Recommended: Ubuntu Minimal or Mate


Rufus
-
(Optional for eMMC)
If you're using an eMMC module, you'll need an eMMC to USB reader to flash the image using balana etcher or rufus.

Step 2: Insert Storage and Connect Peripherals
-
Insert the microSD card or eMMC module into the appropriate slot.
-
Connect your monitor via HDMI.
-
Plug in your USB keyboard and mouse.
-
Connect Ethernet for internet access.
-
Finally, plug in the 12V power supply.
The N2+ should power on automatically. If not, press the power button near the edge of the board.
Step 3: First Boot & Configuration
On first boot:
-
The system will resize partitions automatically.
-
Log in using default credentials:
-
Username:
odroid -
Password:
odroid
-
You’ll be prompted to change the password and can start configuring the system.
Optional Configurations:
-
Set locale and time zone:
bash
sudo dpkg-reconfigure tzdatasudo locale-gen en_US.UTF-8 -
Update the system:
bash
sudo apt update && sudo apt upgrade -y -
Enable SSH (if not already enabled):
bash
sudo systemctl enable ssh
sudo systemctl start ssh
Step 4: Verify Performance (Optional)
Run a quick benchmark or test CPU frequency scaling:
bash
cat /sys/devices/system/cpu/cpufreq/policy0/cpuinfo_max_freq
- Install
htopto monitor usage: - bash
sudo apt install htop
htop
Tips & Troubleshooting
-
Boot issues?
-
Double-check power supply (12V, not 5V!)
-
Ensure image is correctly flashed
-
For eMMC, make sure the switch is set to “eMMC” mode
-
-
No display?
-
Try a different HDMI cable or port
-
Wait 1–2 minutes; first boot may take a while
-
-
Overheating?
-
The N2+ runs hot at full load. Consider a fan or a heatsink.
-
The ODROID-N2+ strikes a great balance between performance and power efficiency. Whether you're building a retro gaming station, a media center, or even experimenting with edge AI applications, this SBC has serious potential.
Now that you're up and running, what will you build?

