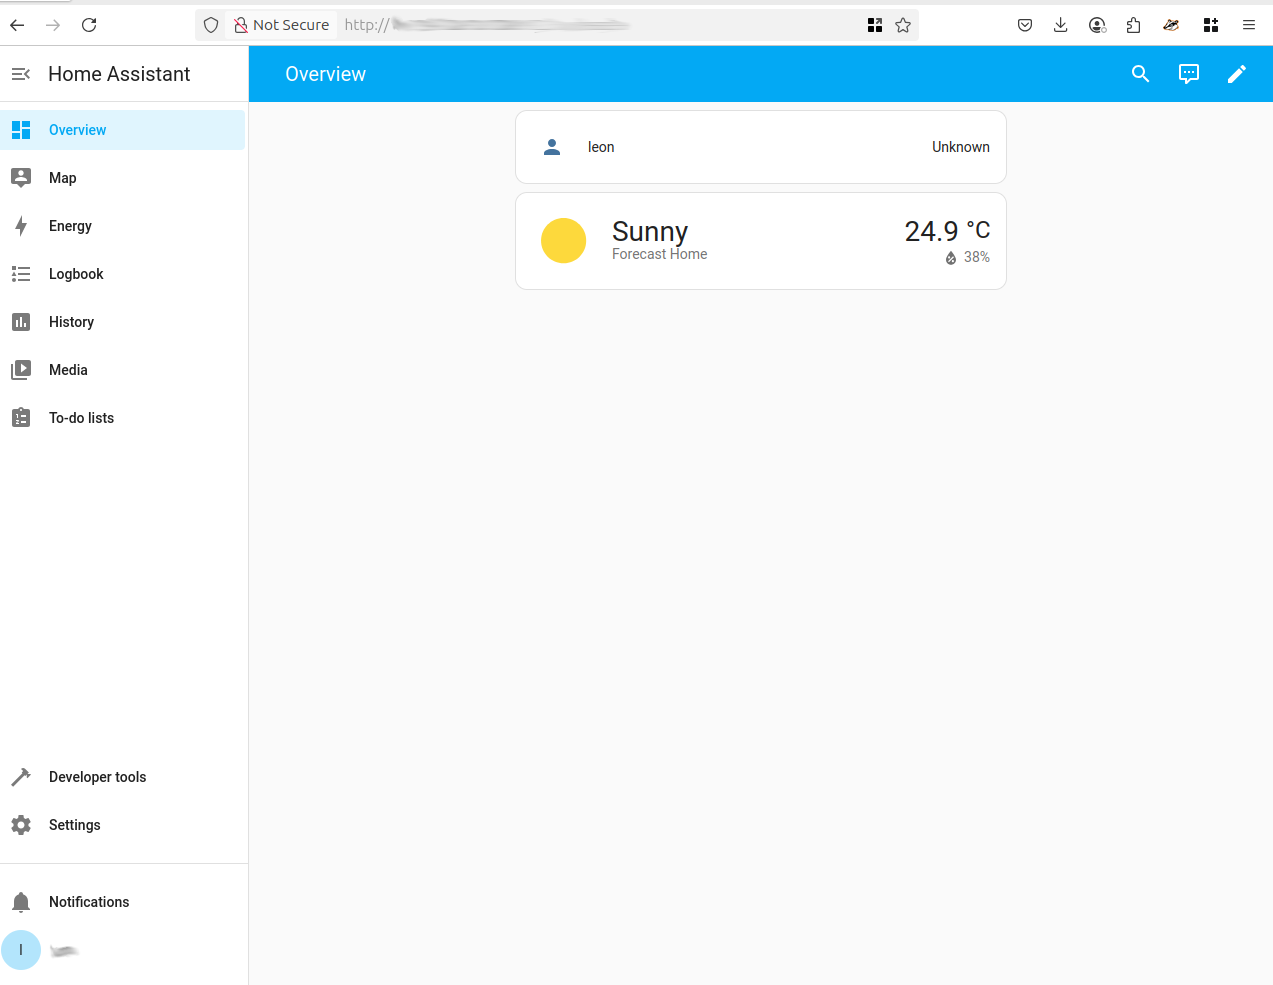
The ODROID-N2+ is one of the best single-board computers for running Home Assistant, offering a perfect balance of performance, reliability, and energy efficiency. With its powerful Amlogic S922X CPU and 4GB of RAM, the N2+ handles Home Assistant OS with ease, even when loaded with numerous integrations and add-ons. Its fast eMMC storage support significantly improves boot times and responsiveness compared to microSD cards. Thanks to its active community and official support from the Home Assistant project, setup is straightforward. For those seeking a dedicated, always-on smart home hub, the ODROID-N2+ is a top-tier choice that delivers long-term stability.
What You’ll Need:
1. ODROID-N2+ Board
-
Choose the 4GB RAM model for optimal performance.
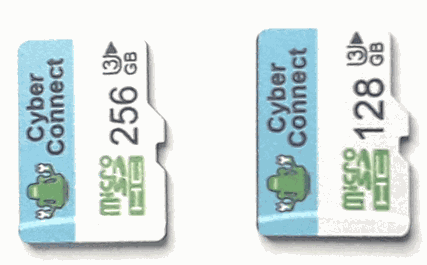
2. microSD Card
-
At least 32GB recommended.
3. Power Supply
-
A 12V/2A power supply with a barrel connector (center-positive).
4. Ethernet Cable or Wi-Fi Dongle
-
Ethernet is more reliable; Wi-Fi requires a supported USB dongle (ODROID has no built-in Wi-Fi).
5. Home Assistant OS Image for ODROID-N2+
-
Download from the official Home Assistant site: https://www.home-assistant.io/installation/odroid
6. Balena Etcher or Raspberry Pi Imager
-
For flashing the OS to your microSD.
7. Keyboard, Mouse, and HDMI Monitor (optional)
-
Useful for initial setup or troubleshooting.
Step 1: Flash an Operating System
- Download OS Image https://www.home-assistant.io/installation/odroid
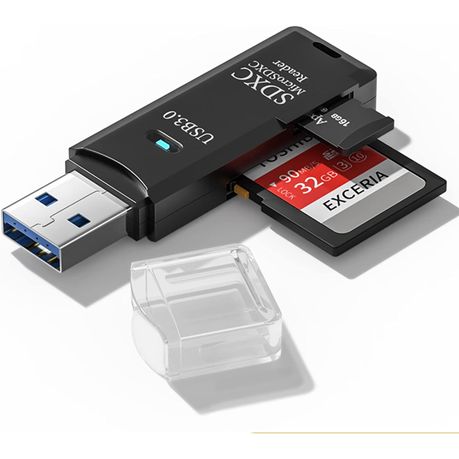
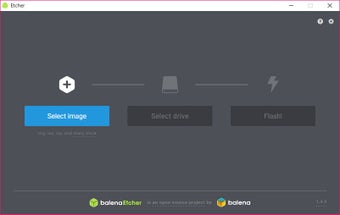
- Using the USB Adaptor flash microSD using Balana Etcher
Step 2: Boot the device
- Insert the microSD card into the card slot on the N2+ making sure the toggle is set to MMC to boot.
- Boot the N2+ device
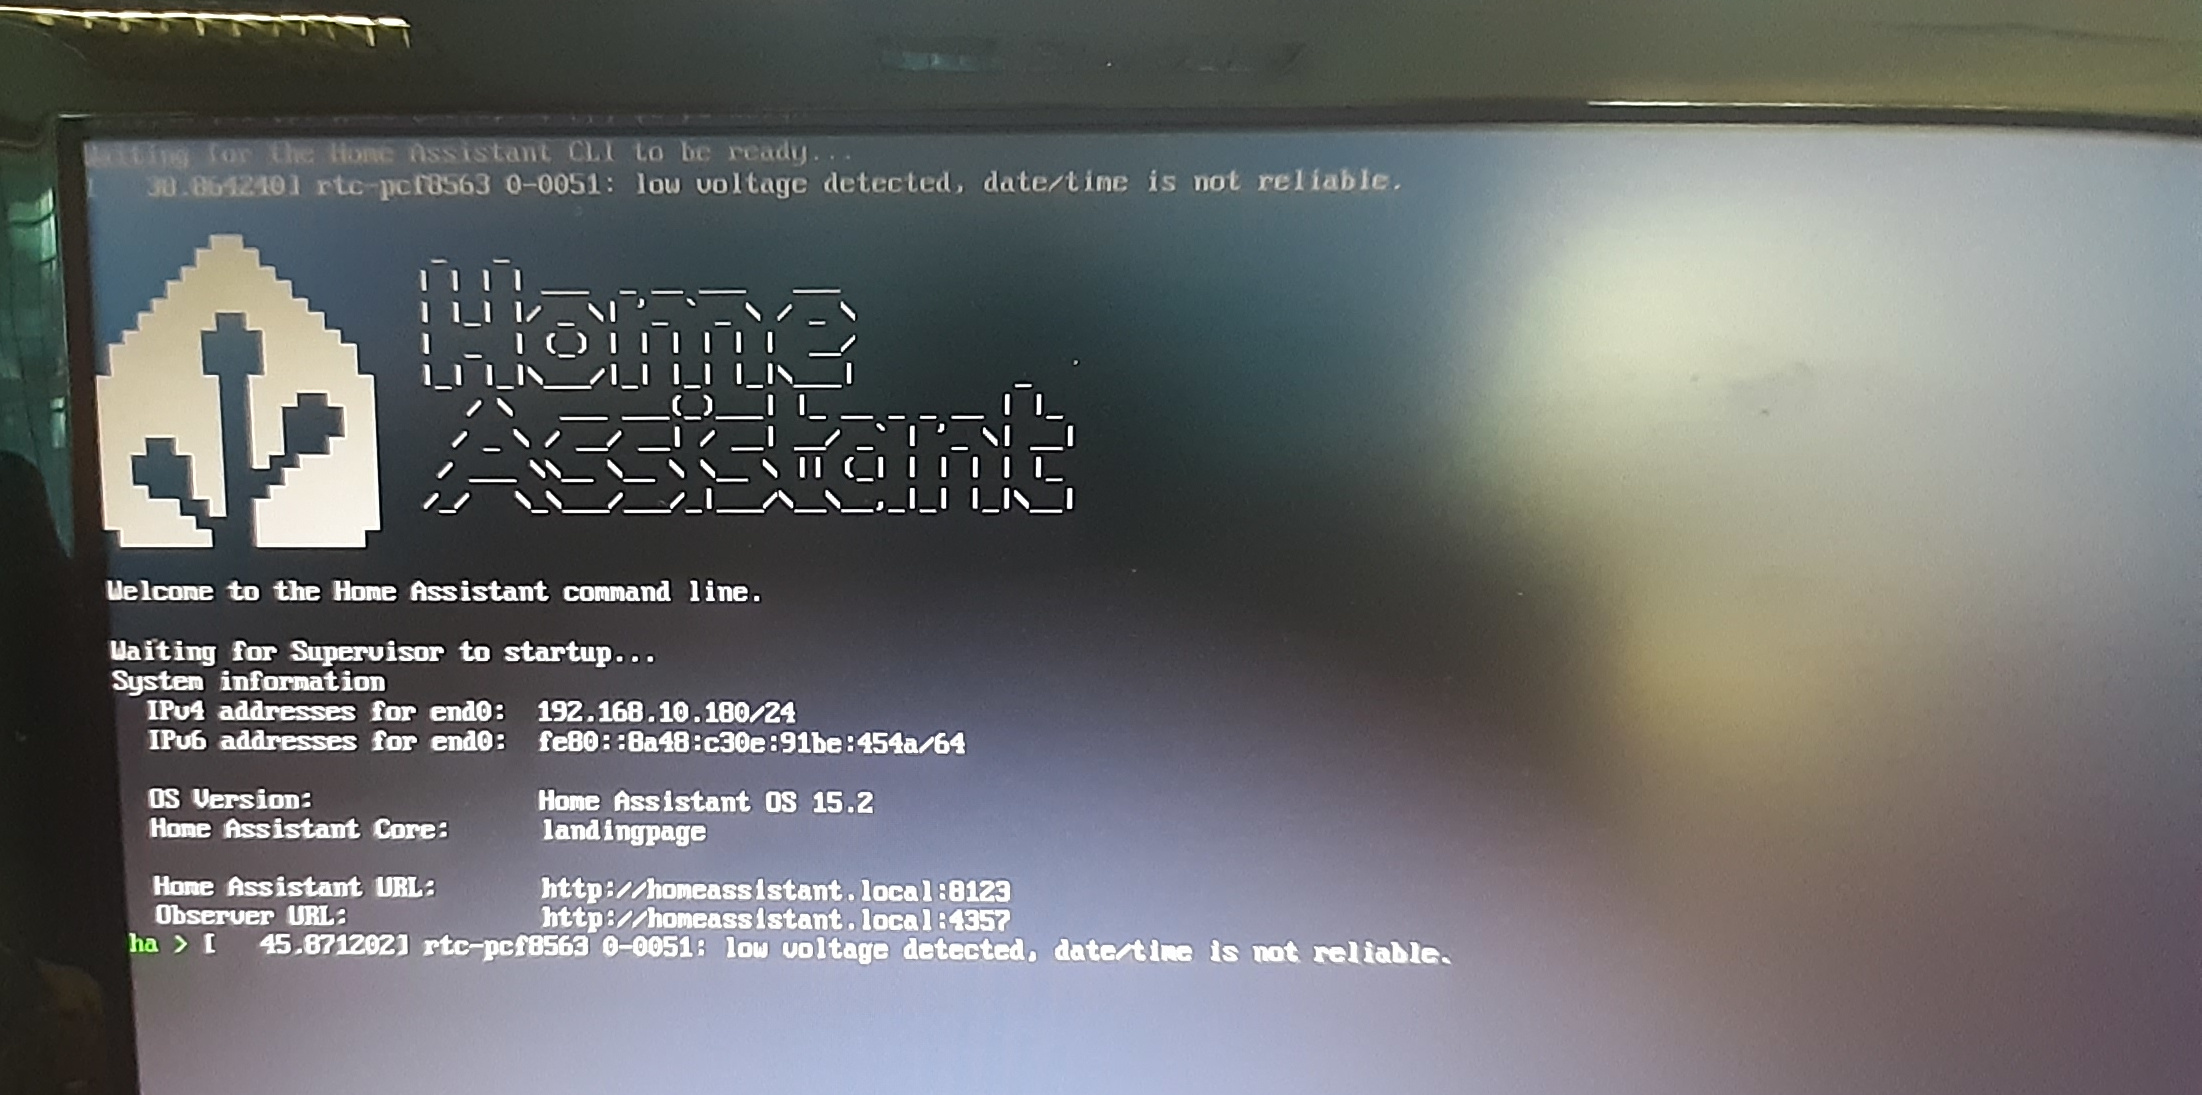
Step 3: Log into Home Assistant
- To log into the Home Assistant
-
Find the local IP address or hostname By default, Home Assistant is accessible via: web browser
- http://homeassistant.local:8123 (replacing local with the device IP address)
